
Minecraft Java Edition is renowned for its open-world gameplay and endless possibilities, allowing players to customize their gaming experience extensively. One of the most exciting ways to enhance your Minecraft journey is by installing mods and texture packs. Mods can introduce new gameplay mechanics, items, and even entirely new worlds, while texture packs can dramatically change the visual aesthetics of the game. In this article, we will guide you through the process of installing mods and texture packs in Minecraft Java Edition, helping you elevate your gameplay to new heights.
Understanding Mods and Texture Packs
Before diving into the installation process, it’s essential to understand what mods and texture packs are:
- Mods: Short for modifications, mods are user-created content that alters the game mechanics, adds new items, blocks, creatures, and more. Mods can significantly change how you play the game and often require a modding platform, such as Minecraft Forge, to function correctly.
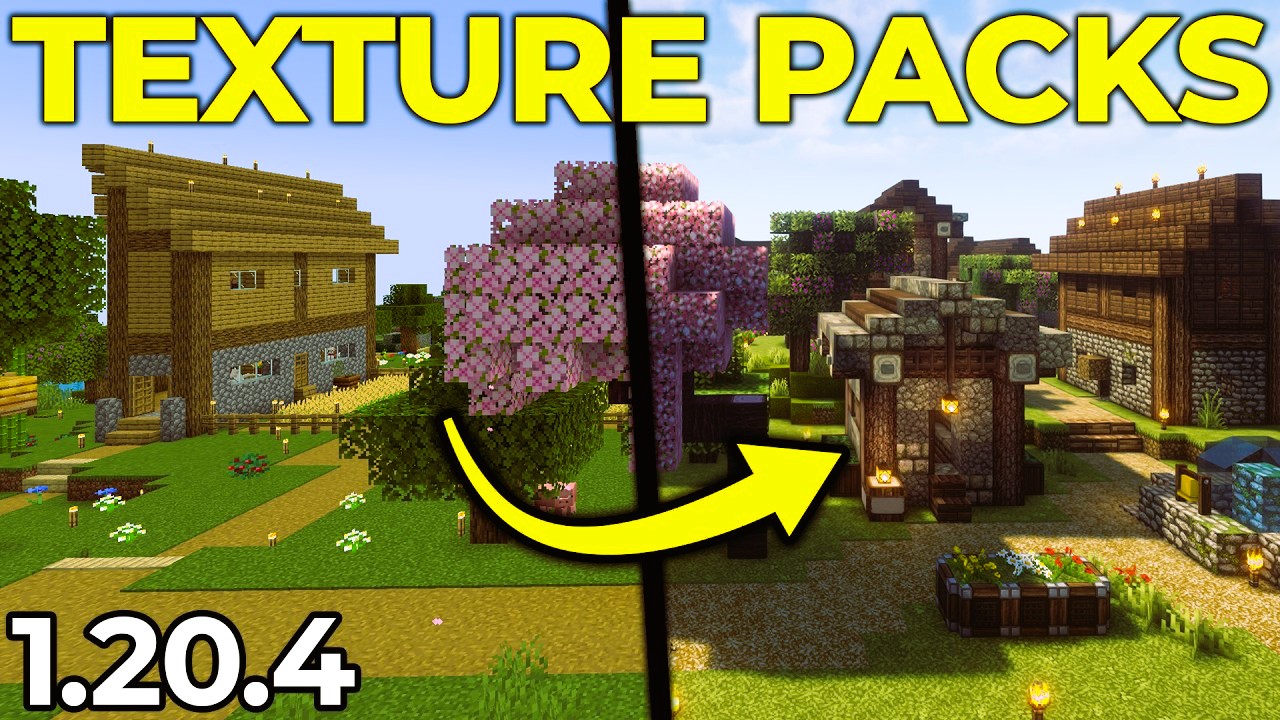
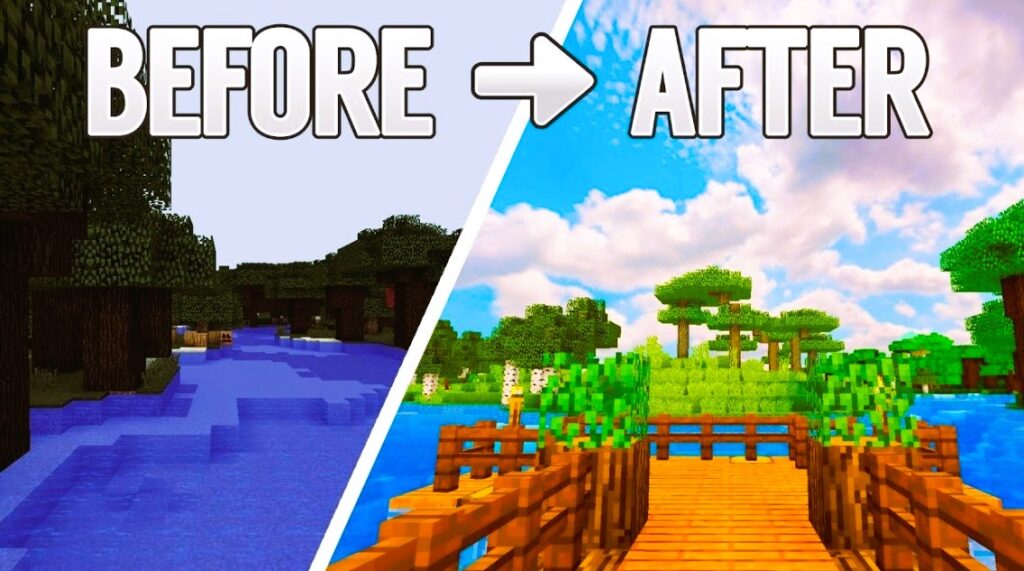
- Texture Packs: These are collections of image files that change the appearance of the game. Texture packs can provide a more realistic look, a cartoonish vibe, or even a themed aesthetic (such as medieval or sci-fi). In Minecraft, texture packs are now commonly referred to as resource packs.
Step 1: Setting Up Minecraft Forge
To install mods, you’ll need Minecraft Forge, a popular modding platform that allows you to run mods easily. Here’s how to install it:
- Download Minecraft Forge:
- Visit the Minecraft Forge website.
- Select the version of Minecraft you are playing (ensure it matches your game version).
- Download the installer for that version.
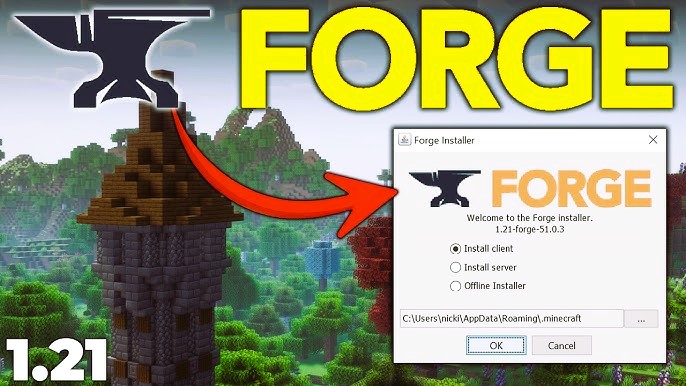
- Install Minecraft Forge:
- Run the downloaded installer.
- Choose “Install client” and click “OK.”
- Launch the Minecraft Launcher and select the Forge profile.
- Verify Installation:
- Start Minecraft with the Forge profile to ensure it works correctly. You should see a “Mods” option in the main menu. Did you like the article? Read also about Survival Guide.
Step 2: Finding and Downloading Mods
With Minecraft Forge installed, you can start downloading mods. There are several popular websites where you can find quality mods, including:
- CurseForge: A popular platform for mod creators.
- Planet Minecraft: A community site that offers various mods and creations.
- Minecraft Forum: A discussion forum where users share and discuss mods.
How to Download Mods
- Choose a Mod:
- Navigate to your chosen mod site and find a mod that interests you.
- Check Compatibility:
- Ensure that the mod is compatible with the version of Minecraft and Forge you have installed.
- Download the Mod:
- Click the download link for the mod (usually a .jar file).
Step 3: Installing Mods
Once you have downloaded the mod, follow these steps to install it:
- Locate the Minecraft Mods Folder:
- Press
Windows + Rto open the Run dialog (or use Finder on macOS). - Type
%appdata%/.minecraft(Windows) or~/Library/Application Support/minecraft(macOS) and press Enter. - Open the
modsfolder. If it doesn’t exist, create a new folder and name itmods.
- Press
- Add the Mod:
- Move the downloaded .jar file of the mod into the
modsfolder.
- Move the downloaded .jar file of the mod into the
- Launch Minecraft:
- Open the Minecraft Launcher, select the Forge profile, and start the game.
- Go to the “Mods” option in the main menu to see your installed mods.
Step 4: Installing Texture Packs (Resource Packs)
Now that you have mods installed, let’s enhance your visual experience by installing texture packs:
Finding Texture Packs
You can find texture packs on various websites, including:
- CurseForge: Many texture packs are available alongside mods.
- Minecraft Resource Packs: A dedicated site for various resource packs.
How to Download Texture Packs
- Select a Texture Pack:
- Choose a texture pack that appeals to you.
- Download the Pack:
- Download the texture pack file, which is usually in a .zip format.
Installing Texture Packs
- Locate the Resource Packs Folder:
- Navigate back to the
.minecraftdirectory as mentioned above. - Open the
resourcepacksfolder. If it doesn’t exist, create a new folder and name itresourcepacks.
- Navigate back to the
- Add the Texture Pack:
- Move the downloaded .zip file of the texture pack into the
resourcepacksfolder (do not unzip it).
- Move the downloaded .zip file of the texture pack into the
- Launch Minecraft:
- Open the game and go to the “Options” menu, then select “Resource Packs.”
- You should see your installed texture pack listed. Click on it to activate.
Step 5: Troubleshooting
If you encounter any issues during installation, consider the following tips:
- Check Compatibility: Ensure that both your mods and texture packs are compatible with the version of Minecraft you are using.
- Remove Conflicting Mods: Some mods may conflict with one another. If you experience crashes or issues, try removing recently added mods to identify the problem.
- Use the Correct Profile: Always launch the game using the Forge profile to ensure that mods are loaded correctly.
Installing mods and texture packs in Minecraft Java Edition opens up a world of creativity and personalization. By following these steps, you can enhance your gameplay experience and enjoy a visually stunning Minecraft world tailored to your preferences. Whether you’re looking for new gameplay mechanics or a fresh aesthetic, the Minecraft community offers a plethora of options to explore.
For more information on Minecraft mods and resource packs, check out the Minecraft Fandom Wiki.
By understanding the installation process and utilizing the vast resources available, you can take your Minecraft experience to the next level and join a thriving community of players who share your passion for creativity and exploration. Happy crafting!